Summary
모니터링 웹 서비스인 Uptime Kuma의 설치 방법에 대해 정리했습니다. Version : 2 를 기준으로 작성했습니다.
** Quick Links**
Requirements
- Docker
- Docker Compose
Installation
docker-compose.yaml
# ==================================================
# Uptime Kuma : 서비스 상태 모니터링 대시보드
# 평균 CPU : 0.5% ~ 1%
# 평균 메모리 : 200MB
# ==================================================

services:
  uptime-kuma:
    image: louislam/uptime-kuma:2
    container_name: uptime-kuma
    restart: unless-stopped
    ports:
      - 3001:3001
    volumes:
      - ./data:/app/data:rw
    environment:
      # 컨테이너 내부 표준 시간대
      - TZ=Asia/Seoul
      # 생성 파일 기본 권한 마스크
      - UMASK=0022
      # Node.js 실행 모드 (프로덕션 최적화)
      - NODE_ENV=production
    networks:
      - default
# ==================================================
# 헬스체크
# ==================================================
    healthcheck:
      test:
        - CMD-SHELL
        - node
        - test/health-check.js
      interval: 1m
      timeout: 10s
      retries: 3
      start_period: 30s
# ==================================================
# 리소스 제한 - 필요시 조정
# ==================================================
    deploy:
      resources:
        limits:
          memory: 1G
          cpus: "1.0"
# ==================================================
# 로그 설정
# ==================================================
    logging:
      driver: json-file
      options:
        max-size: 10m
        max-file: "3"
        labels: service=uptime-kuma
# ==================================================
# 네트워크 설정
# ==================================================
networks:
  default:
    name: uptime-kuma-network
docker compose up -dhttp://localhost:3001접속
Configuration
DB Setting
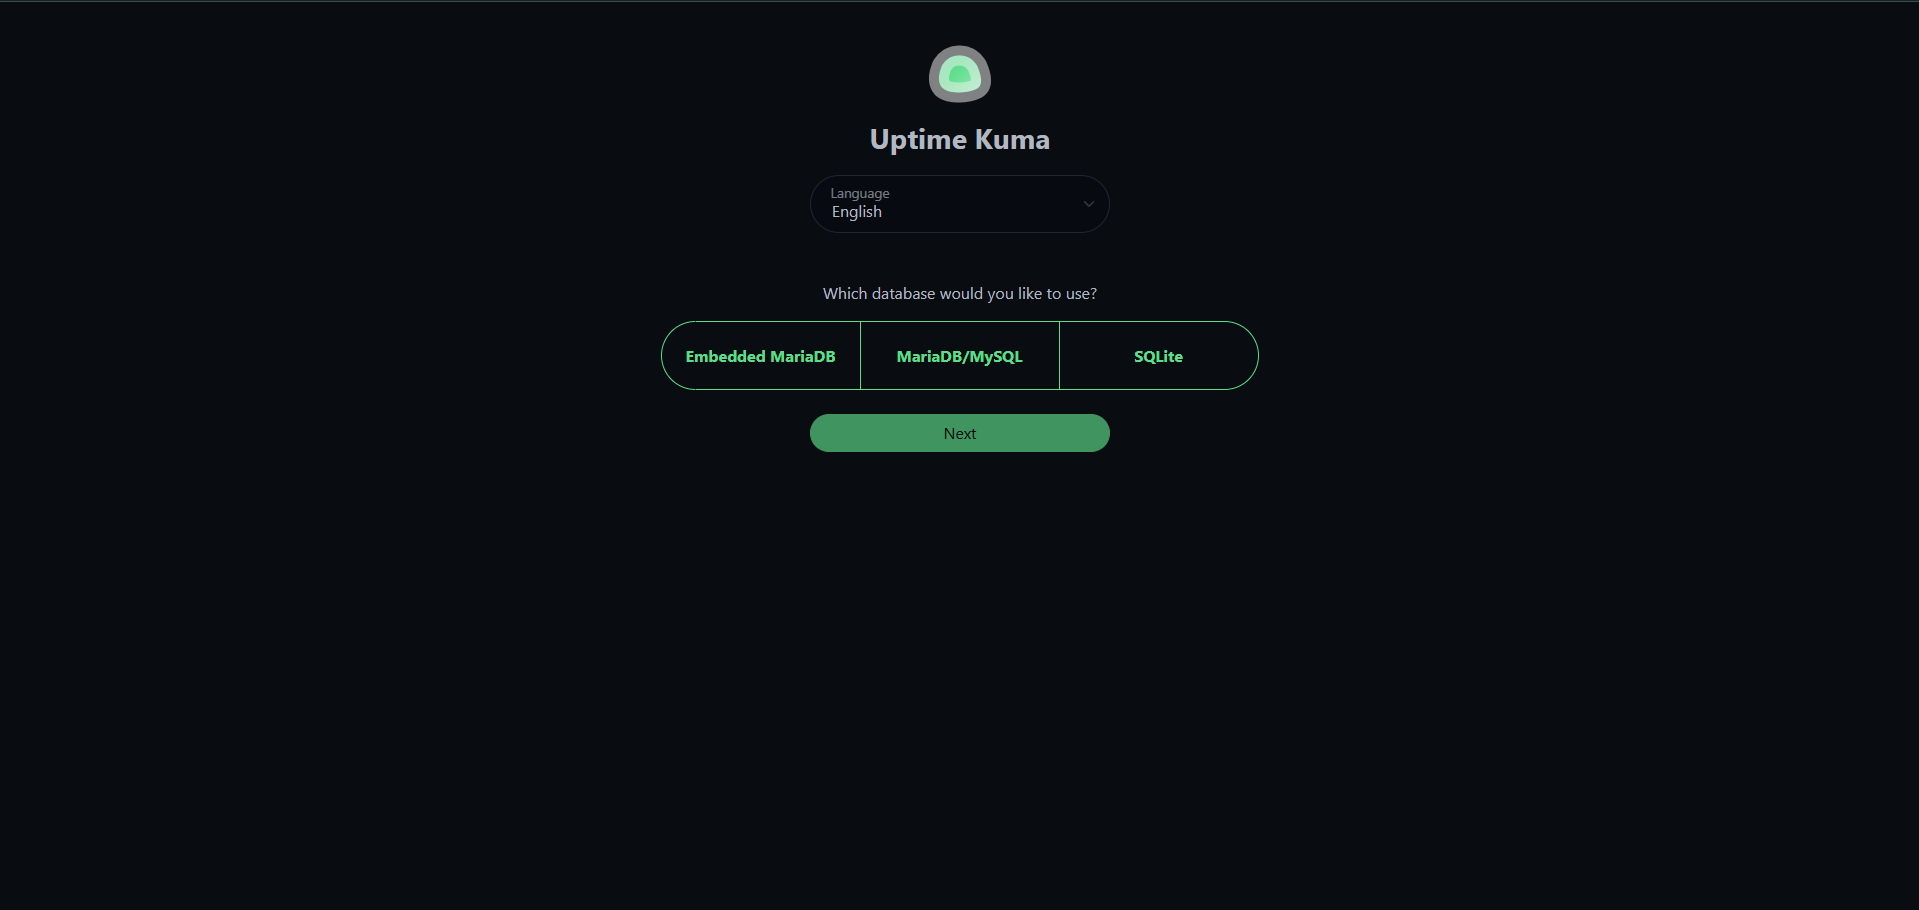
- Embedded MariaDB : 시스템이 자동으로 MariaDB를 생성하여 DB 연결까지 해준다.
- MariaDB/MySQL : 기존에 운영하던 MariaDB 또는 MySQL에 연결하여 사용한다.
- SQLite (Recommended) : SQLite를 생성하여 사용한다. HomeServer 등의 소규모 환경에서는 SQLite 정도면 충분하다.
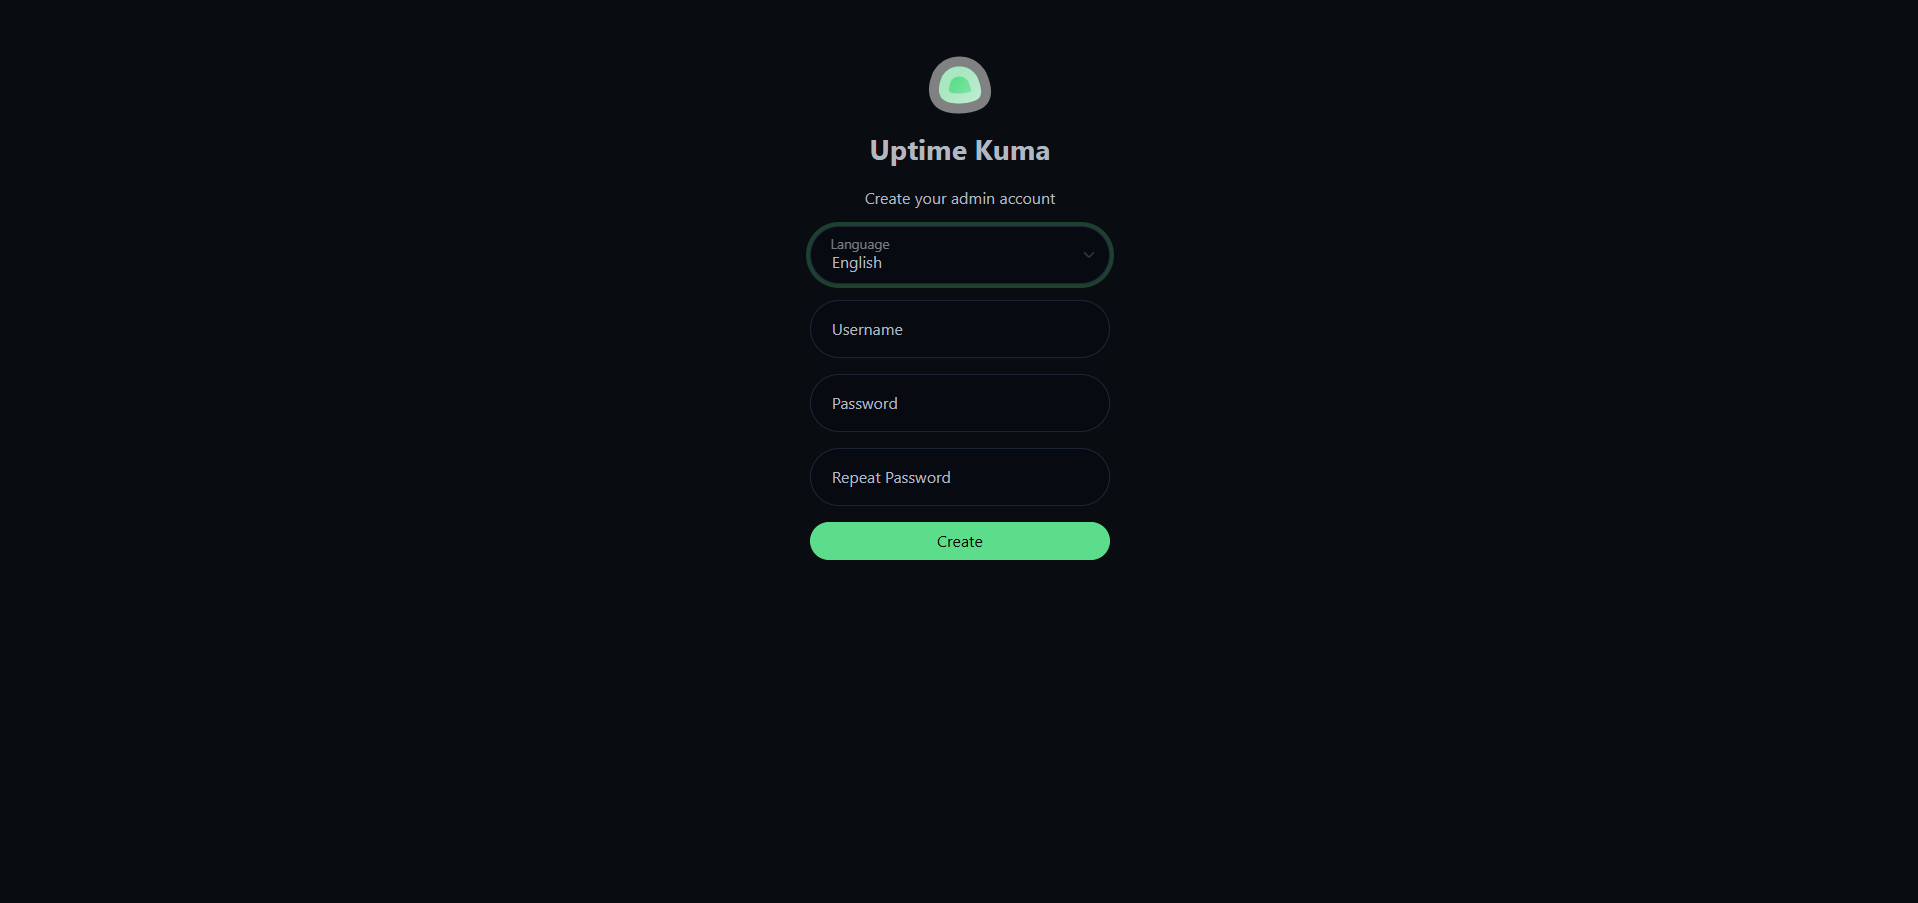
Admin Registration
Done
Uptime-Kuma Configuration
Uptime-Kuma의 사용법 및 설정에 관련해서는 다음 노트에 정리합니다.